Everyone needs a good logo design, from established businesses rebranding themselves to online personalities who need something for their profile pictures. The problem is, a lot of people think that if they don’t have any experience with logo makers, they can’t design their own logo. Great logo ideas can come from anywhere, but only designers can bring them to life, right?
Maybe in the past that was true, but with modern technology and beginner-friendly logo makers like Logogenie, anyone can make an amazing, professional-quality logo at an affordable price.
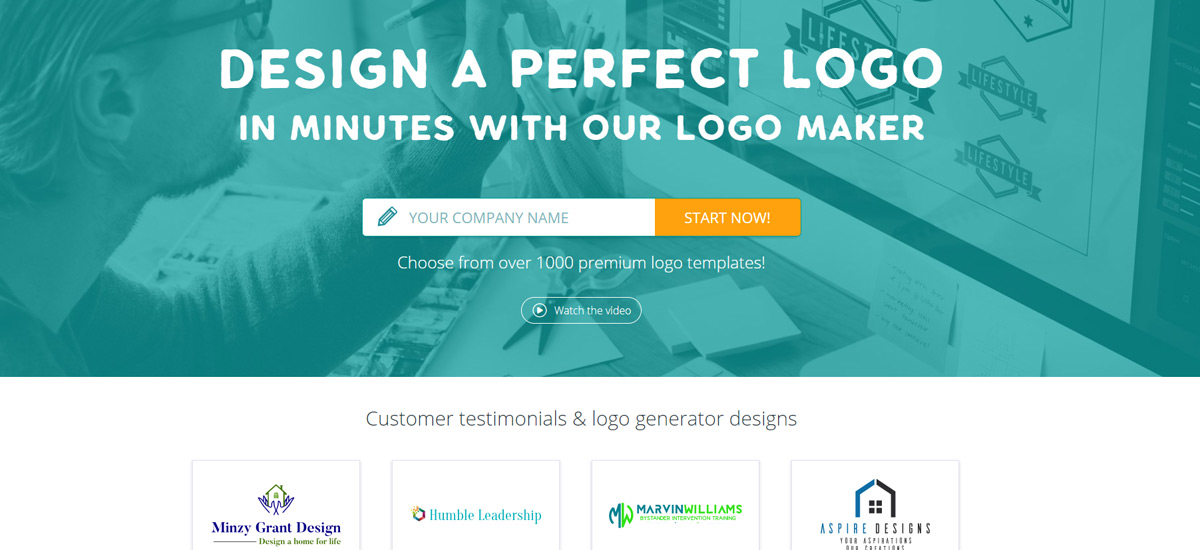
We know the first time using a design tool can be intimidating — all those buttons and tabs and choices — so we wanted to make this guide to help you get started. Below, we give you a quick how-to on getting started with Logogenie, including some advanced logo design techniques even first-timers can use.
Opening Logogenie
Whenever you’re ready to start, just click Logo Design in the top horizontal menu. If you want to follow along this guide while you explore, you can open the logo maker in a new tab.
Logo Selection
Welcome to the Logogenie online logo maker! We break down the logo design process into four steps, displayed in the navigation bar at the top of the screen:
- Logo selection
- Customization
- Preview
- Download
The first step in the logo maker process, and arguably the most important, is the logo template selection. Here, you choose the basic template of what your logo design will look like. Although you can change the details at any time, choosing the right logo base now can save a lot of time later.
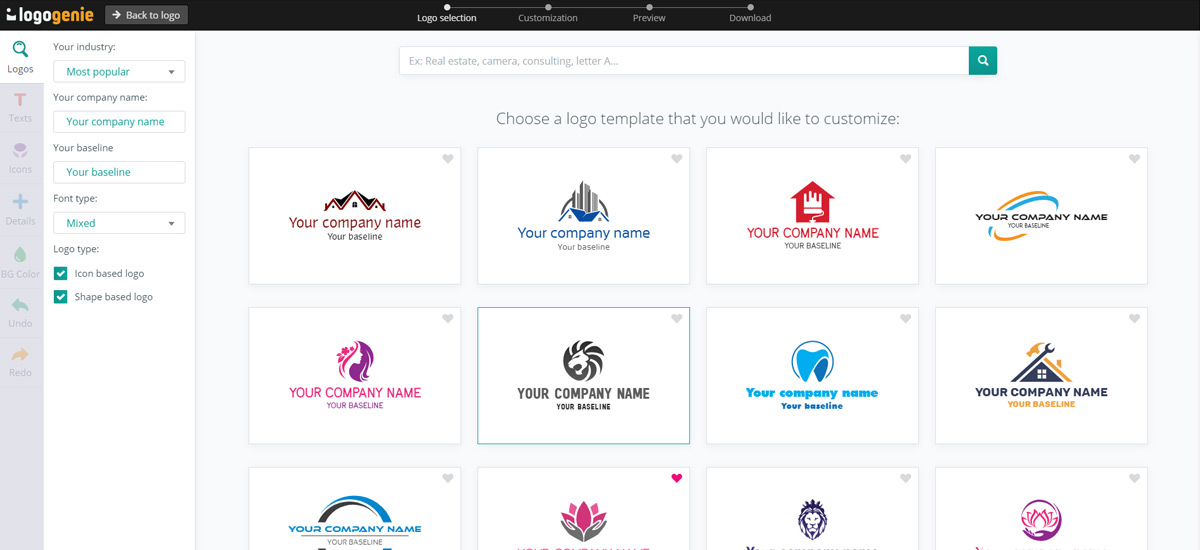
While you’re free to browse and use our entire database of logo templates, we recommend narrowing down your search with the filters. The best one to start with is your industry: this will generate all the logo templates with themes related to that industry. Just click on the Your industry dropdown menu in the upper-left (the default selection reads “Most popular”).
Alternatively, you can use the search bar near the top to find any themes you can think of. This is useful if you have an original idea or want to cross industry themes.
You’ll also notice two checkmark boxes on the left menu for Icon based logo designs and Shape based logo designs. These can also help you filter designs. Tick Icon based logo for logos of recognizable images and clear symbols. Tick Shape based logo for abstract shapes and indistinct imagery.
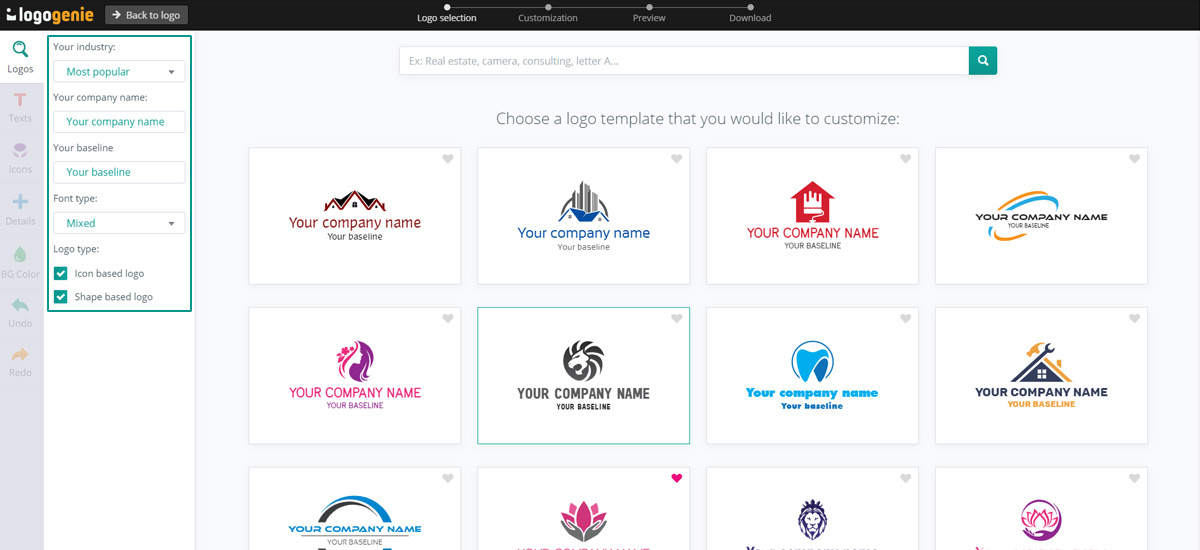
It’s not just what your logo depicts, but also the shapes and styles used. Different shapes and styles elicit different emotions on a subconscious level, so use the ones that are in line with your branding goals. You can read about those meanings in our guide Using Shapes to Design Logos.
While browsing, it’s easier to find your perfect logo if you input the name of your company. Just type it into the Your company name text field in the left menu — from there, it will populate all the samples so you can see what they’d look like with your own name. Some of our logos are also responsive to your company name, for example, depicting the first letter.
The Your baseline field lets you add secondary text as well. This could be a slogan or an establishment date — anything you want, really. For new and unknown companies, it may help to clarify what you do with a quick tagline.
Last, you’ll want to choose your font preferences in the Font type field. Later you’ll have the opportunity to test out almost a hundred specific fonts, but for now this is just to give you a general idea to help you pick your base. This is one of your first major creative decisions, so consider what each choice communicates about your brand personality:
- Mixed — a standard, medium-ground selection, suitable for almost any business (but master of none)
- XXL — referring to the width of the letters and not their height, this is good for seeming important without bragging
- Rounded — a nice, lighthearted typography for casual and friendly brands
- Créatives — a collection of handwritten, cursive, and generally quirky fonts for artistic and whimsical brands
- Elegant — formal fonts often with serifs for a more professional, if not humorless, brands
- Futuristic — a collection of stylistic fonts for brands that want to emphasize tech or come across as modern
- Bold — get your name out there with big and blocky letters
To find the perfect font, experiment with the options and see how they look with your company name. It just takes seconds to see the previews, so take your time to see your options. You can also read up on the 30 best fonts to design a logo guide
Whenever you click a sample, it takes you to the next step, Customization. If you hit this in error, you can return to the Logo selection screen by clicking the Logos tab (the magnifying glass icon) in the upper-left.
Customization
Once you’ve selected your logo template, you can get started on the actual designing. This is where most of your time will be spent, but don’t worry — it’s also the most fun step!
Most of the functionality is drag-and-drop, so use your mouse or cursor to move each element where you want it. If at any time you accidentally lose some elements, click Recenter in the upper-right corner to realign your canvas.
Texts
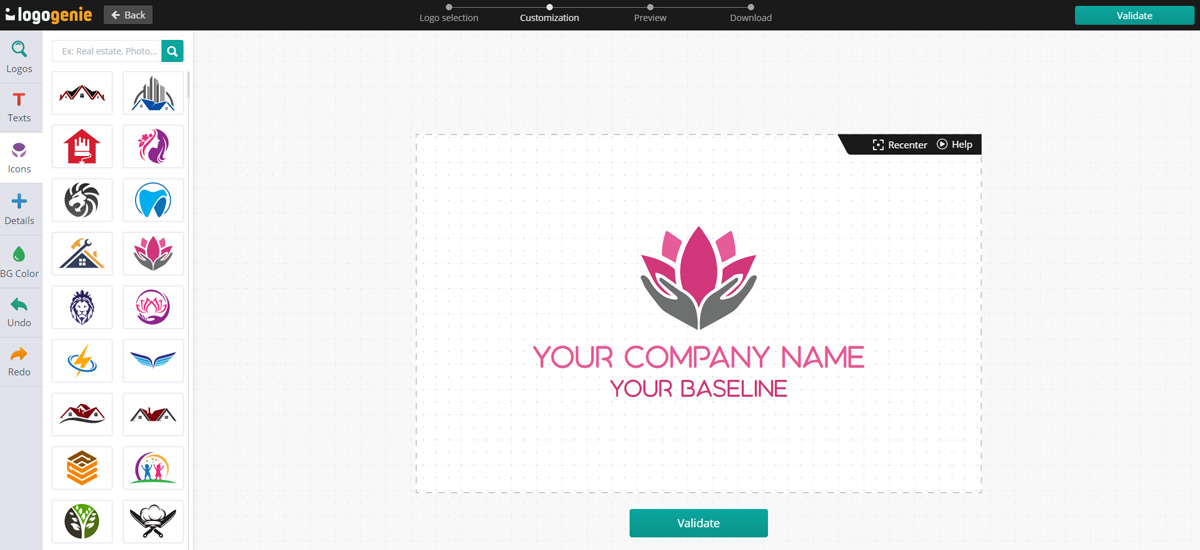
This tab handles all your typography, including fonts, text size, and text color.
You can change what the text says, or add a new line of text, in the Details sections at the top of the left menu. Below that is the section for your Font. Although fonts are categorized by the 7 sections from the first step, you have a lot more options here, so feel free to experiment and test out new ones.
Typography is crucial in logo design, as the different font styles depict different emotional connotations. If you want to be a fun and carefree brand, choose a font with lots of curves and avoid serifs (those little tags on the letters in some fonts). If you want to be a more serious brand, opt for angular or blocky fonts with serifs.
Below Fonts, you can customize the text Size and Letter spacing. The bigger the text, the more important the words seem, so keep your company title as the largest and slogans or taglines at smaller sizes.
You can also change the text color, another influential design decision — read our discussion of colors below to pick the perfect text color for your brand.
Icons
Here is where you can change or edit your main icon. Again, you can use the search bar (not at the top of the left menu) to search for custom tags and narrow down your search.
At any time, you can edit the icon or even the individual pieces of an icon. All you have to do is click on the part of the icon you want to edit. For example, when you click the bottom “petal” of our sample logo, the other panels become grayed out to show what’s selected. Anything you enter into the left menu color menu affects only the part of the icon that’s selected, but changes to size or rotation affect the whole icon.
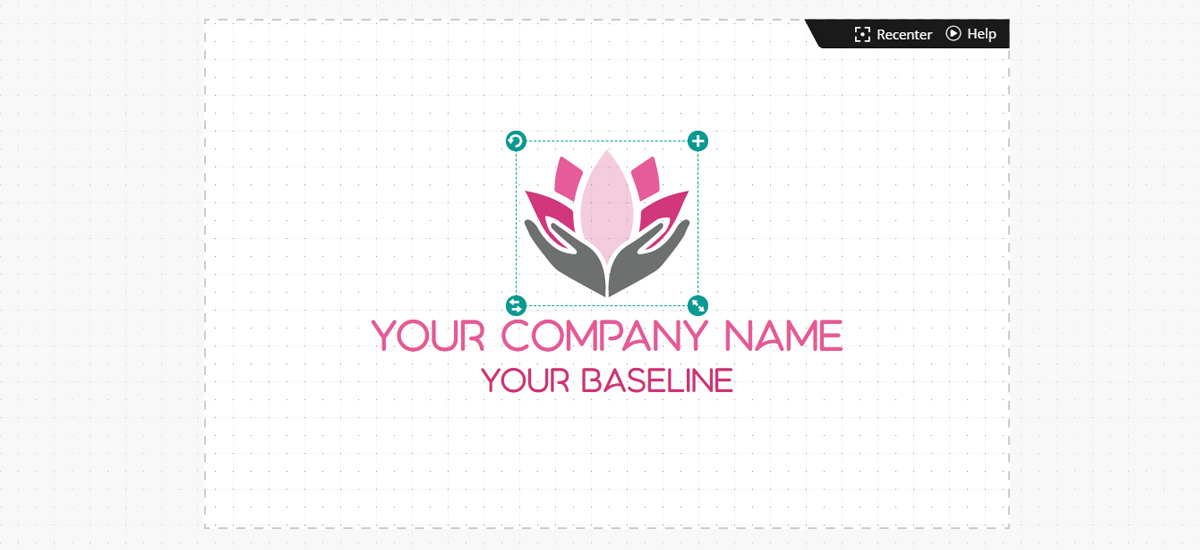
This allows you to truly personalize your logo and make something creative, especially when you take advantage of gradients, or colors that gradually fade into each other. To apply gradients, click on the part of the icon you want to edit and click the Gradient option above the color chart.
With Gradients applied, you’ll see there are now two tabs above the color chart instead of just one. Each tab represents a color, and the Gradient tool will auto-populate the selected area with all the colors in between them. This is a quick but effective shortcut to giving your logo a high-quality and professional appeal, all in under five minutes!
You can also quick-edit icons using the four tools at the corners of the selection lines. These are especially useful as shortcuts, when you don’t want to stop designing to find the commands in the menu.
The plus icon in the top-right corner is a menu for your most common commands — click it to open the menu and select what you want to do. Options including:
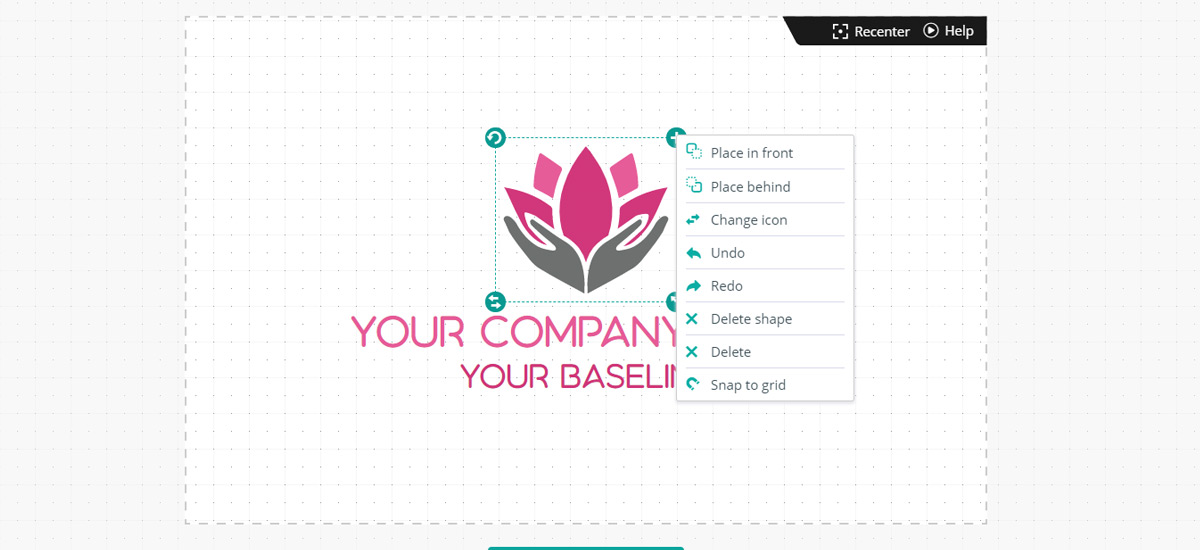
- Place in front/behind - for layering elements and determining which ones supercedes the others, such as whether the text comes in front of the icon or vice-versa.
- Undo/Redo - for undoing or redoing your previous action, in case you make a mistake or want to compare.
- Delete - for removing entire elements (you can also use your keyboard’s Delete key)
- Delete Shape - for removing individual parts of elements, but not the whole element
- Snap to Grid - automatically repositions the element and realigns it according to the internal grid
The circular arrow in the upper-left corner is for rotating the icon. You can do this by inputting a number in the left menu as well, but it’s sometimes easier to do it by hand so you can see how it looks at each degree. Just click and hold while dragging the icon to where you want, and release when you’re ready.
The bottom-left icon of opposing arrows is for the inverse. Click it to “flip” your image from left-to-right for a mirrored version.
Finally, the icon in the bottom-right corner, two diagonal arrows, is for resizing. Click and hold to enter resize mode, and then move your mouse to make the image bigger or smaller. Release it when you find the size you like.
Some of these commands — Place in front/behind, Inverse, and Delete — are available in the left menu as well, near the bottom. Undo and Redo are also the bottom two tabs at the far left, available any time.
Details
The Details tab is where you can add smallery, secondary graphics to your logo for extra flair. Here you’ll find icons like little stars or thunderbolts, as well as “trademarked” symbols and detailed lines for spacing out elements with style.
Considering Logogenie’s customization options, you can also resize and reposition them as the main icon — how you personalize your logo is up to you, we just wanted to give you the option.
Editing the detail images works just as the other elements, with all the same functionality and commands, including color gradients and layering. You can add as many detailed graphics as you want, but be careful of creating overly complicated logos. Logos that are too “loud” or “busy” aren’t as effective as simple logos, and it’s harder to reproduce them on smaller mediums like business cards.
BG Color
This tab is where you specify the background color, unless you want to stick with the off-white default. Colors are a core design decision, so choose one based on your brand personality rather than your own personal preferences.
Here’s a quick breakdown on the emotional connotations of each color, according to modern color theory. You can apply these to all the colors in your logos — your icon, your text, your details — not just the background color.
- Red - passion, power, urgency
- Orange - energetic, playful, invigorating,
- Yellow - happy, friendly, flashy
- Green - versatile, grounded, eco-friendly
- Blue - trustworthy, serene, inviting (light shades), professional, secure (dark shades)
- Purple - luxurious, mysterious, wise
- Pink - feminine, youthful, sweet, innocent
- Brown - masculine, rugged, old-fashioned, durable
- Black - sophisticated, dominant, edgy, dangerous
- White - clean, virtuous, healthy, sterile, pure
- Gray - neutral, formal, gloomy, serious
Usually you’ll be using more than one color, so be sure to pick colors that go well together. When in doubt, look at the color wheel — colors on opposite sides of the wheel and colors right next to each other on the wheel always match well. Learn more about the meaning of colors.
Preview & Download
Whenever you’re done editing and are satisfied with your logo design, you can click Validate in the upper-right corner to proceed.
First, you go to the Preview page. Here, you have the opportunity to see your logo from a neutral viewpoint to determine whether its ready or if more work needs to be done. Clicking Modify takes you back to the Customization page.
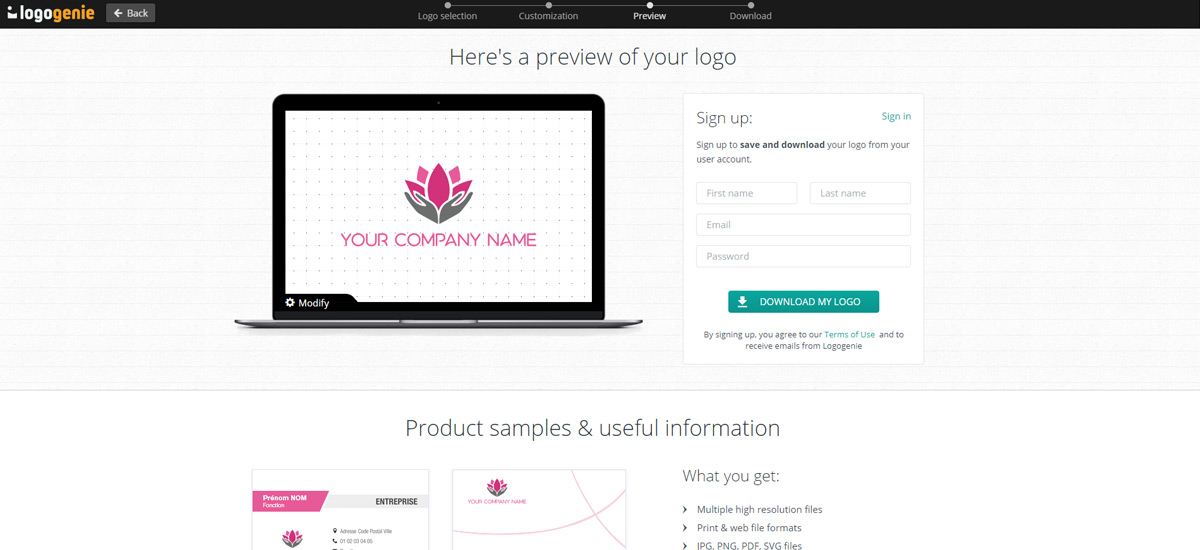
Before proceeding to the Download page, you’ll need to sign in to your Logogenie account. If you don’t have an account, you can create one here just by filling in the fields to the right.
Next comes the final page, where you check out and download your logo. First specify which services you want to purchase along with your logo, and then enter your credit card detail before completing the transaction.
A standard logo pack costs $24.90 and comes with an HD graphic of your design and customer service. However, you can spend a little more for extra perks, depending on your business needs:
- Vector formats - a file format that resizes your image without a loss in quality — ideal if you’re printing your logo in places both large (billboards) and small (app icons).
- Unlimited modifications - lets you create variant logos, for example, if you want your online logo to be different colors than your print logos.
- Social network formats - automatically formats your logo file for popular social media networks like Facebook, Twitter, Instagram, and more.
- Black and white formats - essential for 3D printing, corporate stamps, and screen printing.
- Exclusive logo options - your logo icon is removed from our website so no one else can use it besides you — after all, logos should help you stand out.
Once you pay, you’re free to use your logo wherever and whenever you want. All your hard work can finally be put to good use. Congratulations on creating a stellar logo design at a fraction of the cost!

